



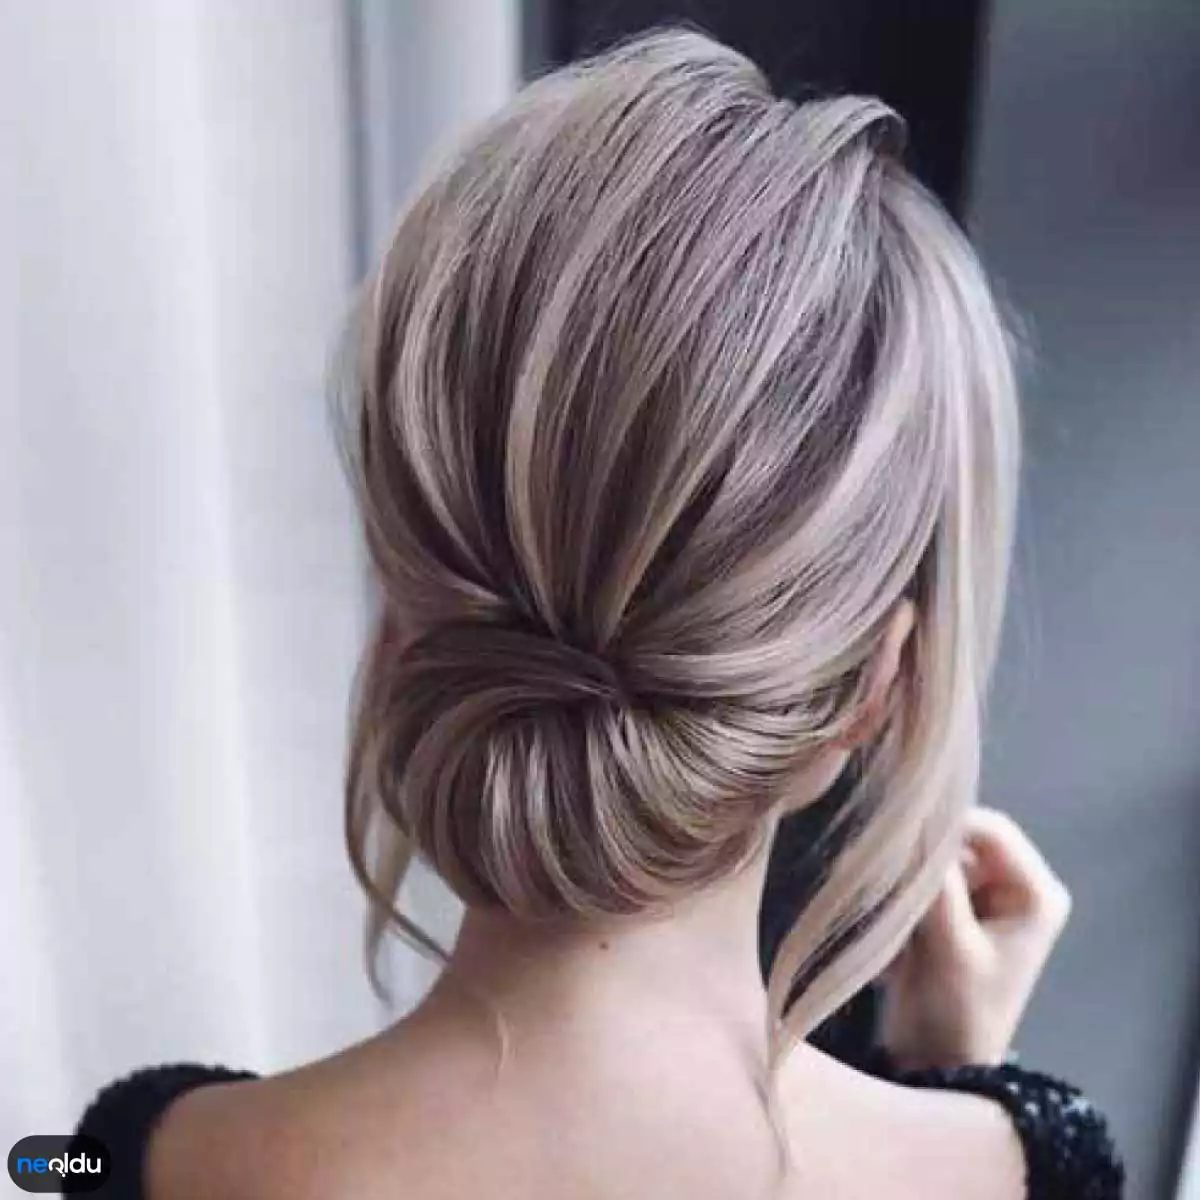
You spend hours choosing the right cut. You worry about layers, bangs and face framing parts. This is important. But honestly? Equally important is the way you style your hair on Tuesday morning. A good haircut is potential. Good style is execution.
You want to look well-groomed without spending 45 minutes in front of the mirror. You want something that can withstand a commute, a meeting, or a sudden downpour. The solution is not complicated. It’s not a French braid that requires three hands and a degree in knot theory. It’s a bun.
More specifically, a regular bun. It’s not just a hairstyle. It’s a strategy.
Зміст
Why a simple bun works
Let’s be honest. Some days your hair feels like static electricity and regret. Other days it’s just in the way. A simple bun hairstyle pulls everything back. It clears your face. It stops you from pushing hair behind your ear every four seconds.
It’s practical. It’s fast. And yes, it is flattering.
But not all buns are created equal. That messy “I just rolled out of bed looking hot” bun? It’s a vibe, but it takes effort to look effortless. A stylish, high bun? That’s for when you need to look sharp. A low, loose bun? This is for when you want to feel soft and balanced.
We focus on the essentials. Ones you can make in less than two minutes. The ones that work whether your hair is clean, greasy after day three, or somewhere in between.
How to Make an Easy Bun (Without the Frustration)
You don’t need any special tools. You don’t need a stylist. You need a hair tie. Maybe two.
1. Start with texture.
If your hair is slippery, dry shampoo or a little texturizing spray will help. It gives the hair some hold. If it’s already messy, that’s okay. Messy hair usually goes better with buns than straight hair.
2. A ponytail is the foundation.
Collect all your hair. Where you place the ponytail changes the entire look.
* High Ponytail: Add bounce to the crown. Makes the face look smaller. Refreshes your whole head.
* Medium ponytail: Classic. Safe. Works for almost all occasions.
* Low Ponytail: Softens your profile. Romantic. Suitable for rounder faces.
Fasten it tightly. Not so tight that it hurts, but tight enough that it won’t slip.
3. Twist or wrap.
Here you decide on the style.
* The twist: Take your ponytail and twist it around itself until it curls into a circle.
* Wrap: Wrap the ponytail around the bottom of the rubber band and tuck the end inside. This hides the elastic band and makes it more stylish.
4. Secure it.
Use another hair band or bobby pin. If your hair is thick, you may need two pins crossed in an X shape for stability. Pin them into the base, not just the outside. You want them anchored to the core of the bun.
5. Adjust.
The Daily Bun: Speed Without Sacrifice
There is a specific kind of panic that sets in when you realize you are late. The keys are in your hand. The coffee is cold. You are standing in front of the mirror with ten minutes to spare. This is where the daily bun saves your life. It is not about looking like a runway model. It is about reclaiming time without letting your hair look like a disaster zone.
The secret isn’t skill. It is speed.
Here is how you do it without wasting a second. Grab your hair from both sides, pulling it back from the temples toward the back of your head. Meet in the middle. You should have a simple ponytail at the nape of your neck. Now, twist that ponytail upward. Wrap the loose ends around the base. Hide the messy bits under the bun. Secure it with a thin bobby pin. Make sure the pin disappears into the mass of hair. Done. You have saved twenty minutes. Use that time to breathe. Or to eat a banana.
It is practical. It is forgiving. It works for school runs, office meetings, and midweek grocery runs.
The Water Wave Texture
If the bun is for speed, the water wave is for style. But don’t let the name fool you into thinking you need a stylist. This texture adds volume and movement to hair that might otherwise lie flat and boring against your scalp. It is subtle. It looks like you tried. Which is exactly the point.
The method varies depending on your hair type, but the goal is always the same: create a soft, rhythmic ripple. Some people use a curling wand, wrapping small sections away from the face. Others sleep with damp hair in loose braids overnight. There is no single right way. There is only what works for your hair’s natural behavior.
If you have straight hair, you will need heat or product. If your hair is already wavy, you just need to encourage it. Avoid over-brushing once the waves are set. That kills the definition. Let the hair sit. Let it look lived-in.
Why do people obsess over perfect waves? Because they signal effort. They signal that you cared enough to take a few extra minutes before leaving the house. But you don’t need perfection. You just need texture. A loose wave catches the light. It frames the face. It makes a simple t-shirt and jeans look intentional rather than accidental.
The difference between a bad hair day and a good one is often just a matter of technique. You can master the quick bun in a week. The water wave might take a month of experimentation. But both get you out the door looking like you have it together. Even if you don’t.
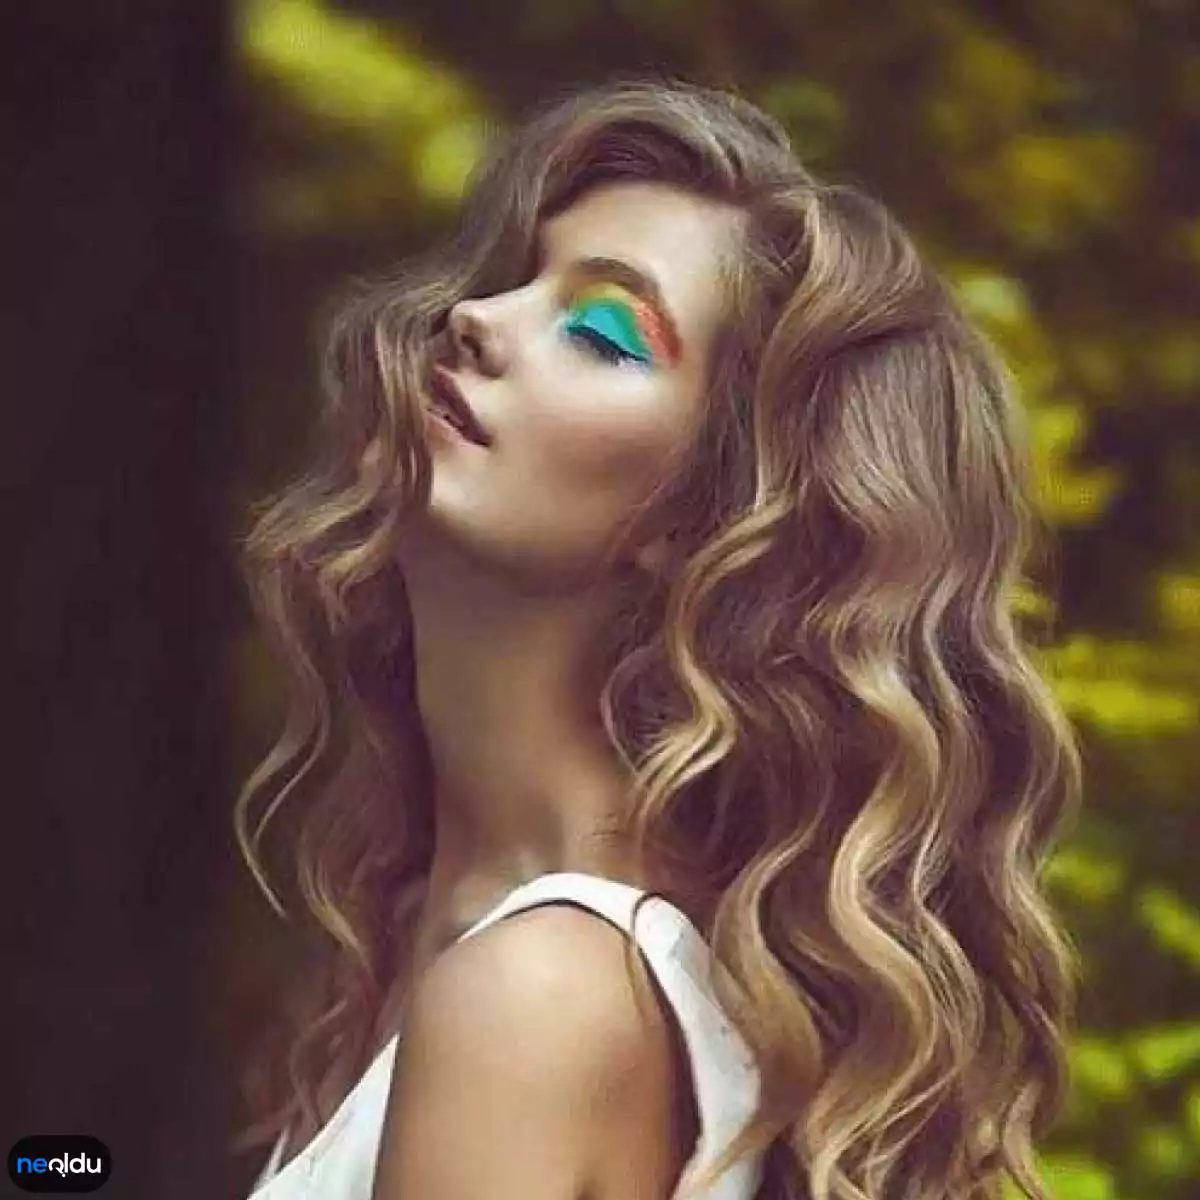
Let’s talk about waves. They are the perfect compromise between “I tried” and “I looked really good”. You want an effortless feel without spending hours in front of the mirror. The water wave in particular is a quick and practical choice when you want to look well-groomed but don’t have time.
Here’s exactly how to do it without frying your hair.
Start by fighting the static. Electrifying hair looks frizzy and not stylish. Spray a little anti-frizz product before touching the heat. Then pick up a curling iron. Don’t just wrap and hold. Start at the back of the neck. Work on the sides and then work on the middle sections. The goal is a flowing S-curve, not flat curls.
If you want this to last a long day or a hot meeting, lock it in. The light styling spray holds its shape without making the hair feel like a helmet.
Round bun: sublime and simple
We continue with a round bun. This is not just a ponytail that is tied and forgotten. A decent round bun is formed. It’s clean. It’s perfect for the office, a date or a quick shopping trip when you haven’t washed your hair.
The trick is the tension. You want it to fit snugly against your head, but not so tight that it gives you a headache. If you have fine hair, add volume to the scalp lightly. Smooth the surface if you have thick hair. Finally, apply a shine serum to keep flyaways in check. It’s a timeless look because it actually suits every face shape. Just adjust the height and tension to shape your face the way you want.
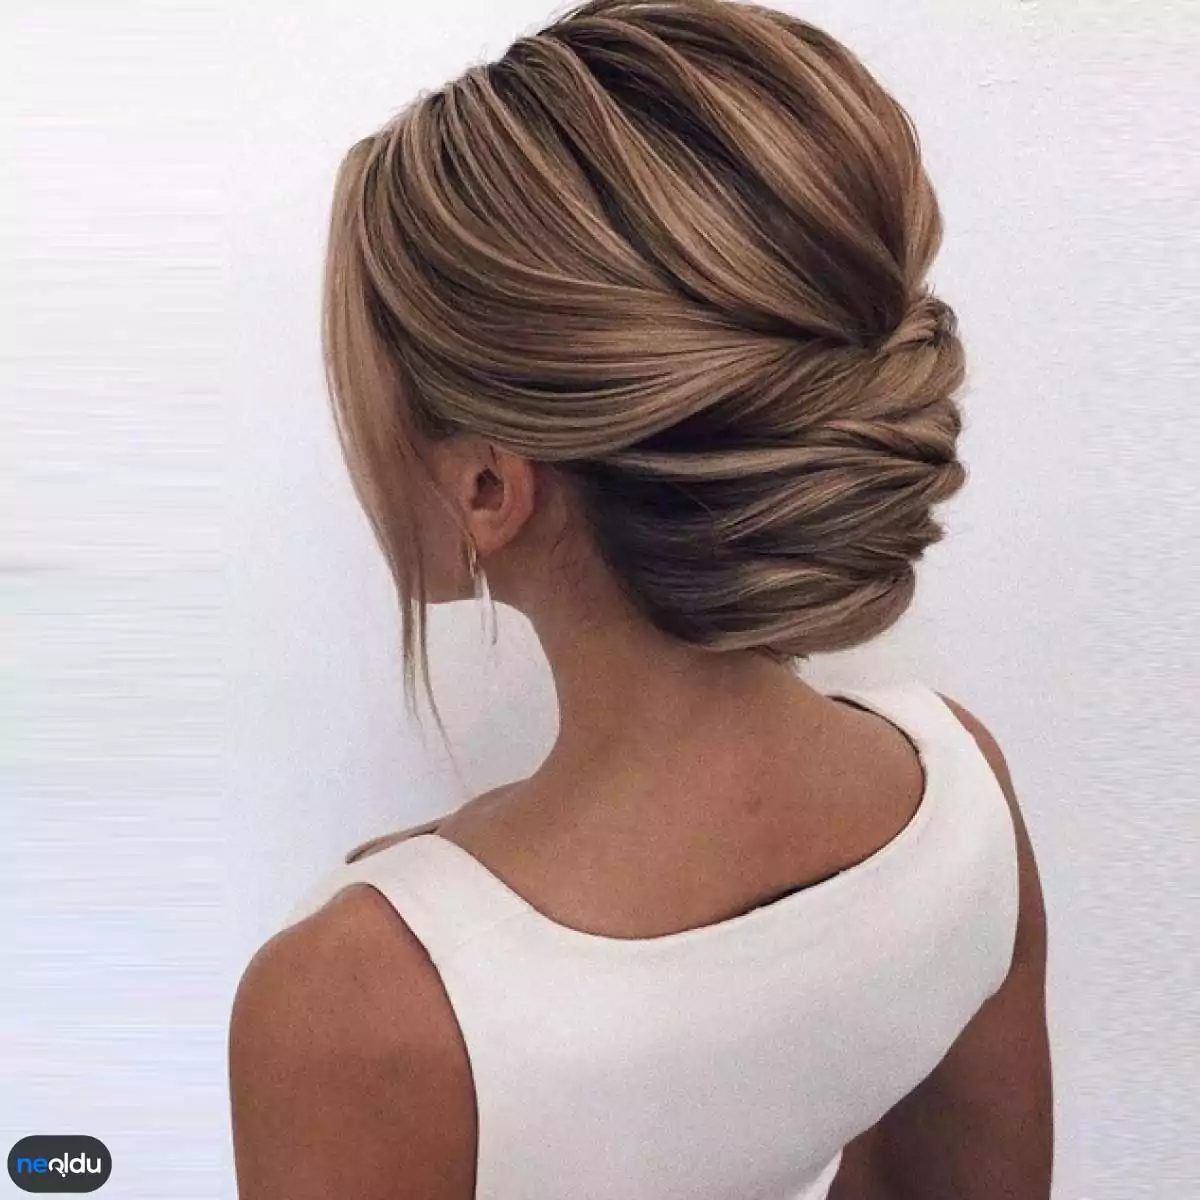
You don’t have to spend hours to achieve this look. It’s cute, practical and surprisingly fast. If you’re looking for a style that comes together without the fuss, a round bun is the answer.
How to Master the Round Bun
Start with a brush. Smooth out any tangles so that the hair is smooth. Then part your hair down the middle at the nape of your neck. You should have two equal parts.
Take a section and tie it like you would tie a shoelace. Leave the other side down for a while. Take the tied part and wrap it in a circle around the bottom of the knot towards the center. Do exactly the same with the other side.
Fasten it now. Fasten the top and bottom layer with pins. Attach the left and right sides to keep the shape clean. Ready.
Braided look
4. Braided hairstyle
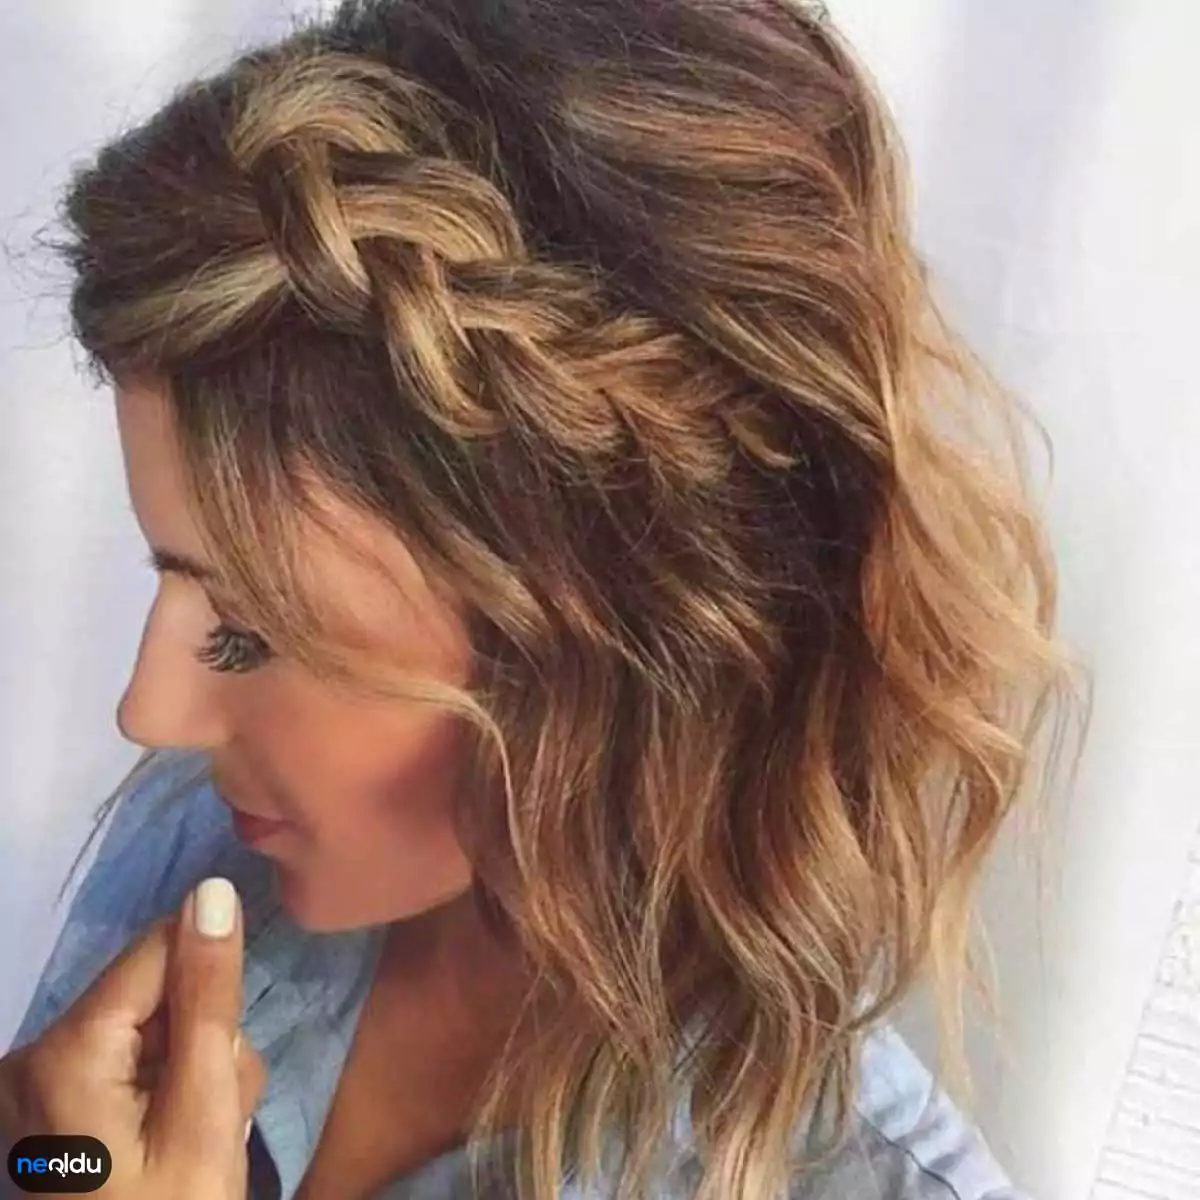
Another easy addition to our selection is the braided style. It is especially helpful for students who hit a wall during exam season. Stress spikes. Hair becomes messy. The need to rip it out and start over is real. You don’t have to go this route.
The braid offers a solution that is both easy to make and stylish to wear. It keeps everything in place when you want to focus on your studies, not on your hairline.
Start by collecting the hair from the top. Wrap it tightly into a braid up to the ends. Once it is wrapped around itself, secure it with a pin. It keeps it tight without slipping.
5. Loose Wave Hairstyle
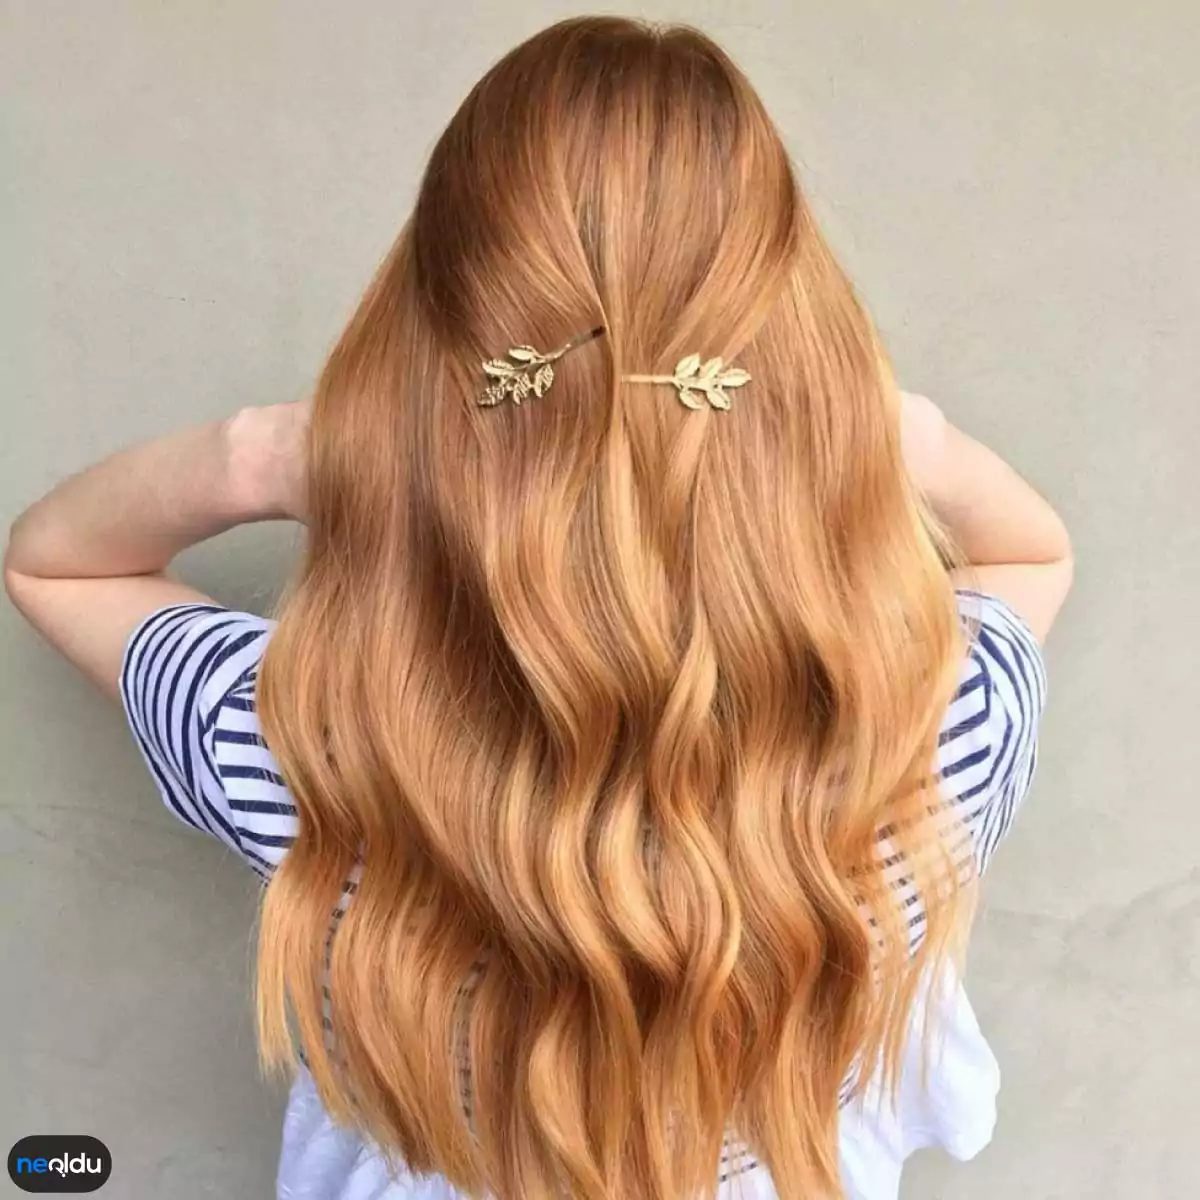
If you’re looking for a hairstyle but afraid of time, light waves are your new best friend. They look polished without much maintenance and offer a cool vibe that saves precious minutes in the morning. The process is surprisingly simple.
Gather your hair into a tight ponytail right at the crown. Split that ponytail into two sections. Wrap each section around a curling iron, hold for a few seconds, then release. Pull out the elastic. Shake it gently. You are done. The result is a soft, undulating texture that feels deliberately stylish rather than rushed.
6. Messy braided updo
Sometimes “messy” is the goal. A messy braid isn’t just a lazy compromise; It’s a style choice that embraces texture and volume. It is also forgiving. Forgot to straighten your hair? A messy braid hides these imperfections and looks effortlessly chic.
Start with lightly textured hair. If your strands are too sleek, add some sea salt spray or dry shampoo to create hold. Gather your hair at the nape of your neck, but leave it loose. Start braiding, but instead of tightening the strands, gently pull the edges to widen the braid and add volume. This technique, often called “pancaking,” gives the braid a fuller, more romantic look.
Secure the end with a clear elastic or a small clip that blends in. Pull out a few pieces that frame the face to soften the look. This style works for all hair lengths, but is especially flattering on medium and long hair. It keeps hair off your face and adds a touch of bohemian charm to any outfit.
The key here is intentionality. A messy braid looks best when it appears undone but is actually carefully constructed. Avoid over-brushing. Let the natural texture do the work. This hairstyle bridges the gap between casual and elegant, so it’s suitable for everything from a quick coffee run to a night out.
It’s all about finding a balance. Not too tight, not too loose. Just enough structure to hold its shape, but enough looseness to feel free.
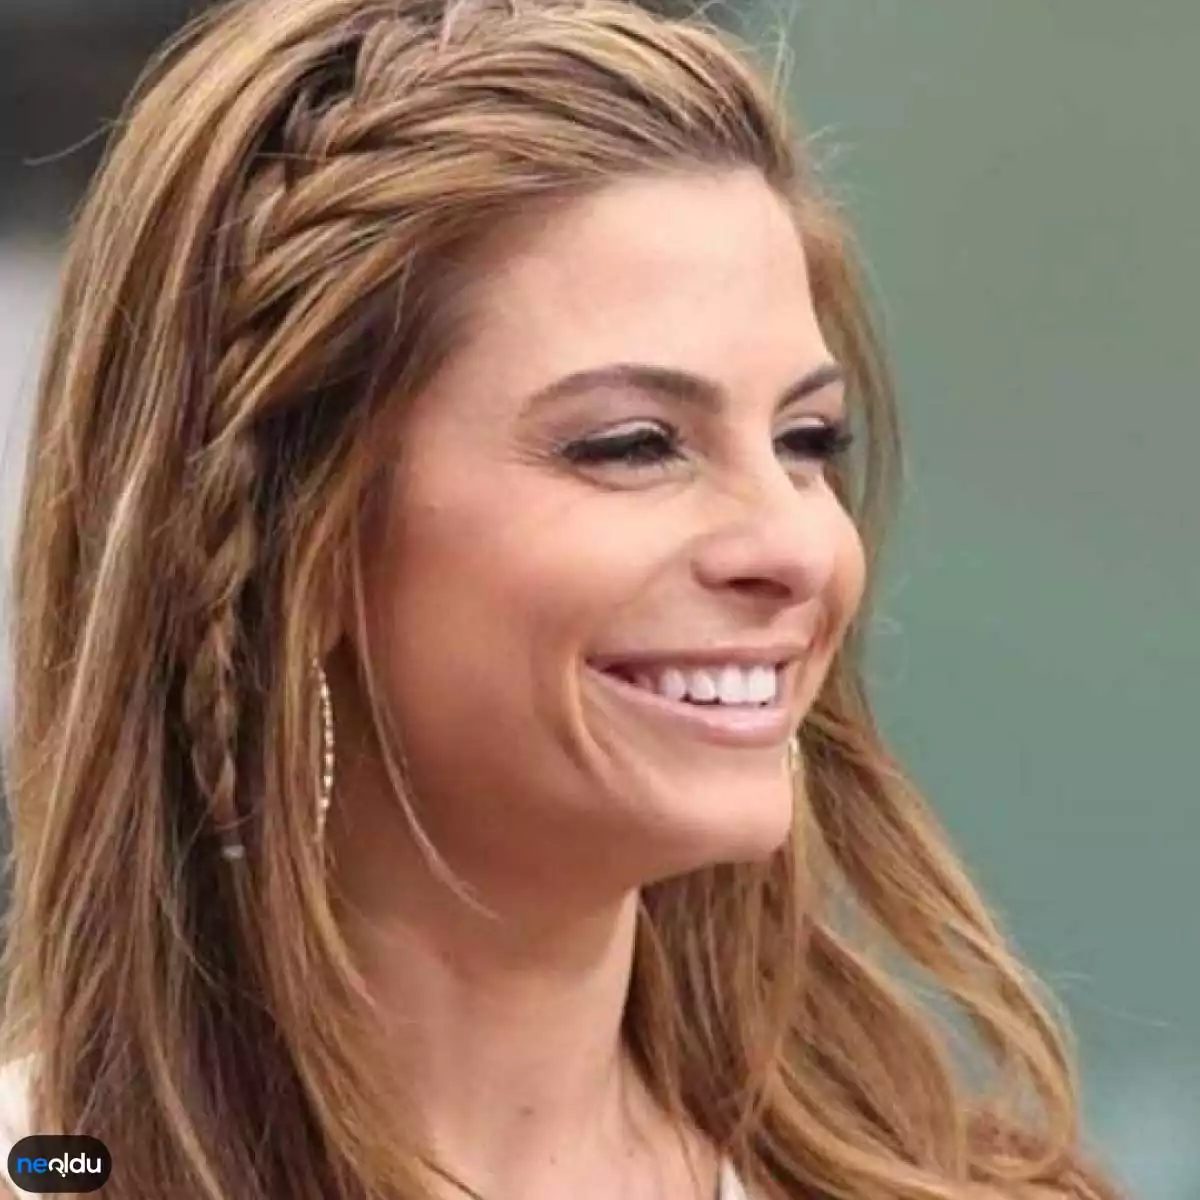
If you know how to braid, you already know the secret to getting a messier look without looking sloppy. It’s about control disguised as chaos. Go for a classic double braid style and pull them together at the back. Then tug at the strands. Gently loosen all of them to make it look like you tossed your hair in a hurry but on purpose.
How to master the half messy braid
This is the style of the moment. It’s practical. It’s perfect for running errands, drinking coffee, or just getting through Wednesday. You don’t have to braid all your hair. Just take the top section – from ear to ear – and create a loose, imperfect braid or twist. Secure it with a rubber band or bobby pin that matches your hair color (invisible is better). Leave the rest alone.
The key here is texture. If your hair is too sleek, it will look stiff. Run your fingers through loose hair. Pull out a few pieces that frame the face. Leave them hanging. They soften the look and make it look more romantic than structured.
“A messy braid isn’t about losing control. It’s about deciding how much control you want to keep.”
If you want support that doesn’t feel like a helmet, skip the heavy gel. A lightweight texture spray works better. It offers more grip without stiffness. Or if you’re starting the second day with hair, natural oils will do the work for you.
Why does this work so well? Because it’s forgiving. It hides flyaways. It makes fine hair look fuller. And it looks effortless, even if you spent twenty minutes trying to figure out where the ends went.
The reality of maintenance
Let’s be honest. Messy styles require a tiny bit of upkeep. You may need to re-pin a section that slides out. If it dries out too much, you may need to spray water. But that’s part of the charm. It’s not a set-it-and-forget-it style. It’s alive.
If you’re worried about it breaking, use bobby pins that match your hair color. Hide them in the braid, not on top. They preserve the structure without destroying the illusion of lightness.
What hair types do this best? Honestly, all of them. Thick hair holds its shape better. Thin hair benefits from adding volume. Curly hair only needs a little product to define the waves in the braid. Straight hair? You need a texturizing spray to give the braid hold, otherwise it might slide out in the middle of the day.
It’s not just a hairstyle. It’s an attitude. You’re saying, “I care about how I look, but I’m not going to stress over every strand.” This is a power move. And it’s surprisingly easy to get right.
Half-Up Messy Braid: an effortless everyday solution
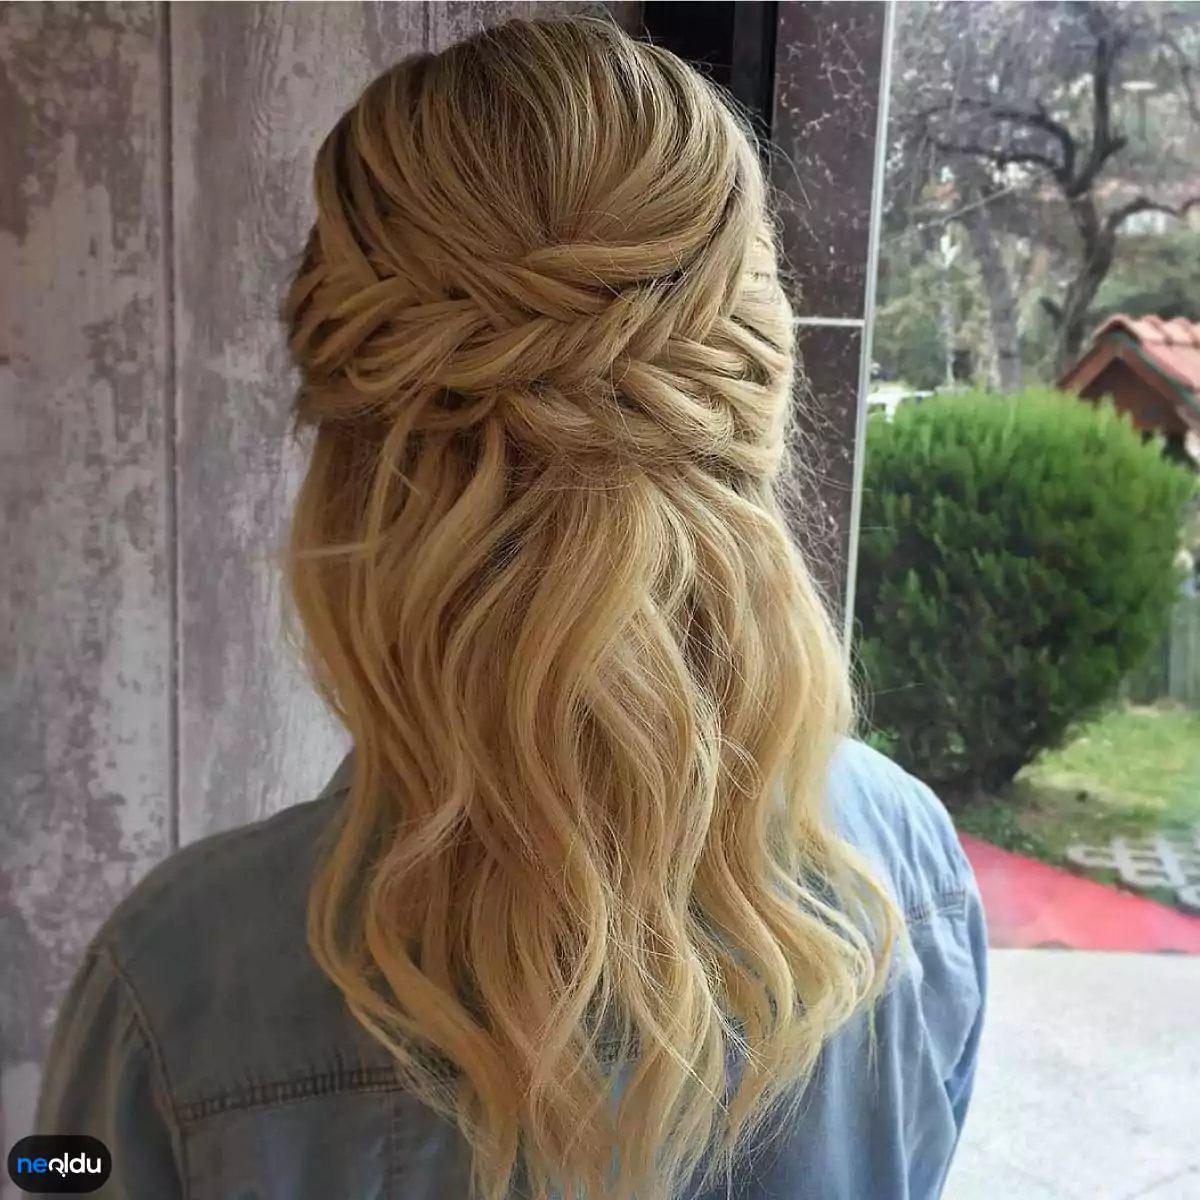
Braids are the undisputed answer for anyone who wants to save hair that has already given up neat. If you’ve ever stared in the mirror and wondered how to make messy hair look intentional rather than sloppy, the solution is often easier than you think. You don’t need to visit a salon. All you have to do is pull up the top part of your hair and braid it.
The half-up messy braid isn’t just a style. It’s a strategy. It takes the volume from the crown and turns potential chaos into texture. Widely considered one of the best casual hairstyles, this particular look strikes a rare balance between elegant and casual. It works because it doesn’t try too hard. It takes the natural state of the hair and gives it structure.
Why this style is perfect for busy mornings
The main reason this look resonates with modern women is speed. You can do a simple half braid in less than two minutes. It doesn’t require complicated twisting or intricate weaving to make it look good. In fact, “good” in this context means imperfect. The goal is to release the strands gradually. This creates the illusion of lightness and at the same time offers the hold of a traditional updo.
This style is for you who are looking for simple braid hairstyles for everyday use. It keeps your hair out of your face while you’re at work or running errands without having to commit to a tight ponytail. The messy texture softens the facial features. It adds a romantic look to a blazer or a casual T-shirt. It’s versatile enough to go from the office to dinner with minimal adjustments.
How to create a half up messy braid
A special approach is required to get the right texture. Start with freshly washed hair. The second day’s hair has more granules and holds its shape better. If your hair is too clean, it will slip out of the braid and fall flat.
- Cutting Top: Bring the hair from your temples back to the crown. This is your workspace. Leave the rest alone.
- Create volume: Before you start braiding, gently pull this top section at the roots. You want to go with me. Straight hair destroys the messy aesthetic.
- Layering Technique: Use a simple three-strand braid or a loose French braid if you’re feeling ambitious. Do not pull the threads tight. As you braid, grab the loops and pull them outwards. This is the “pancake technique”. This makes the braid wider and fuller.
- Attachment and Detachment: Tie it in place with a clear rubber band or a subtle clip. Now comes the most important part. Gently pull on the edges of the braid to loosen it. Pull the hair around your face to frame it.
“The secret to a messy braid is to make it look like you’ve tried, but not like you care too much.”
This method transforms a regular ponytail into something more dynamic. You can add accessories to enhance the look. A small velvet bow or metal pin can completely change the mood. But even without that, the texture makes an otherwise simple hairstyle more interesting.
Comparison of daily hair care options
When deciding which braid hairstyles to incorporate into your routine, consider your hair type. very
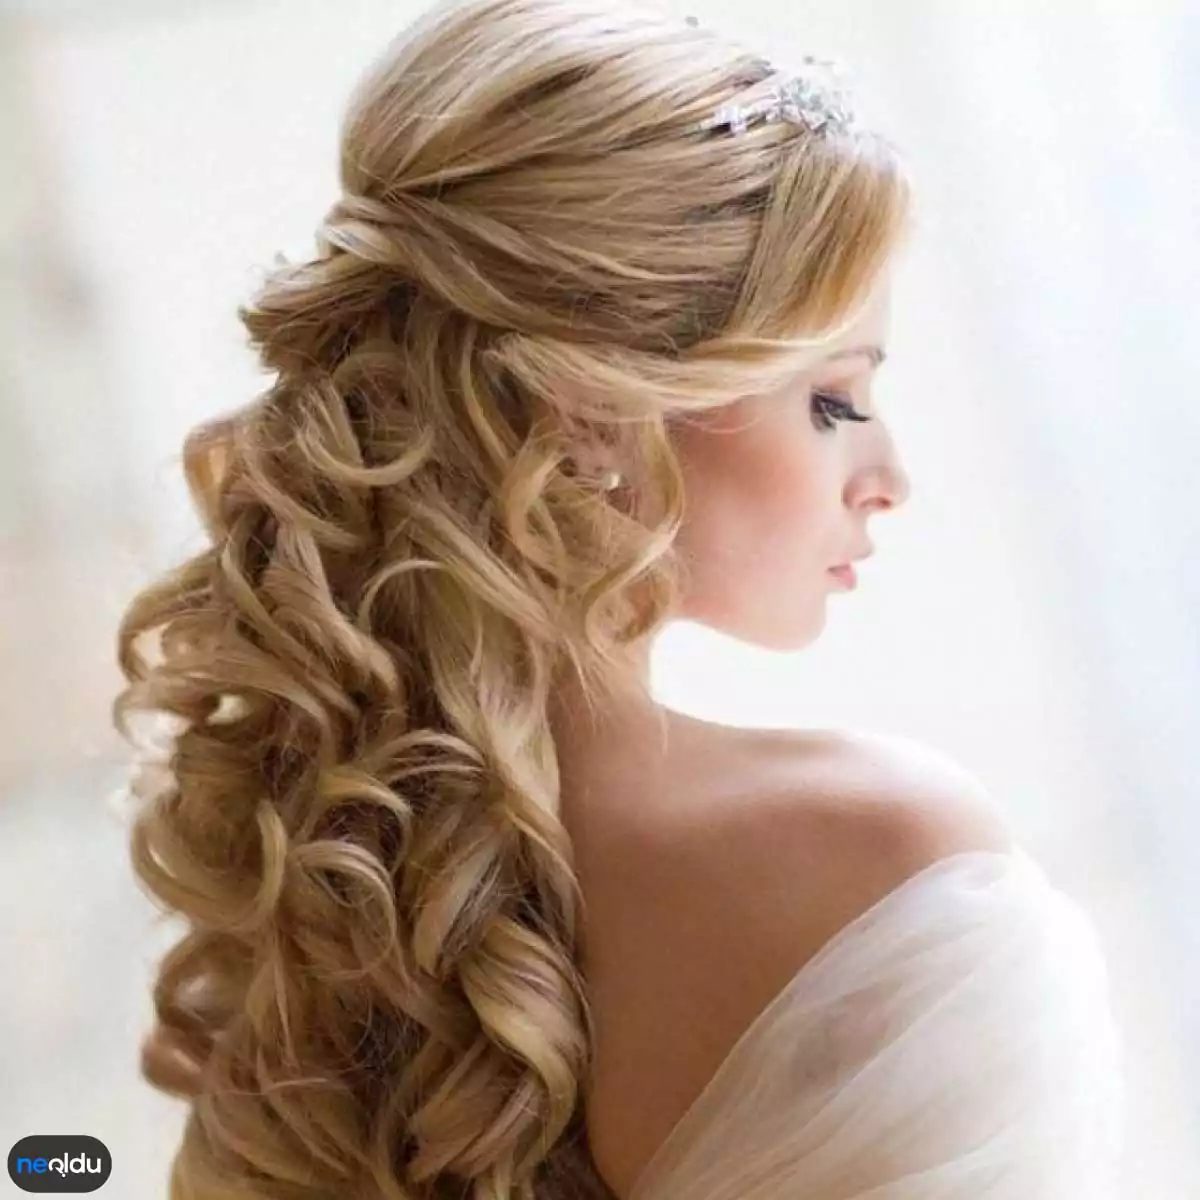
We come to another practical look that actually works in real life: the half-up messy bun. This is not about precision. It looks like you tried, but maybe just a little. You can wear this anywhere. Work, shopping, date night. It holds up.
Want to take it a step further? Add two small braids. Take the sections on the left and right sides of the head, loosely braid it and pull it back until they meet at the back of the head. Attach it to a small bun. It takes a little practice. Your fingers can get caught. But the reward is worth the frustration. It adds texture where there was none.
How to style a high ponytail without a hair tie
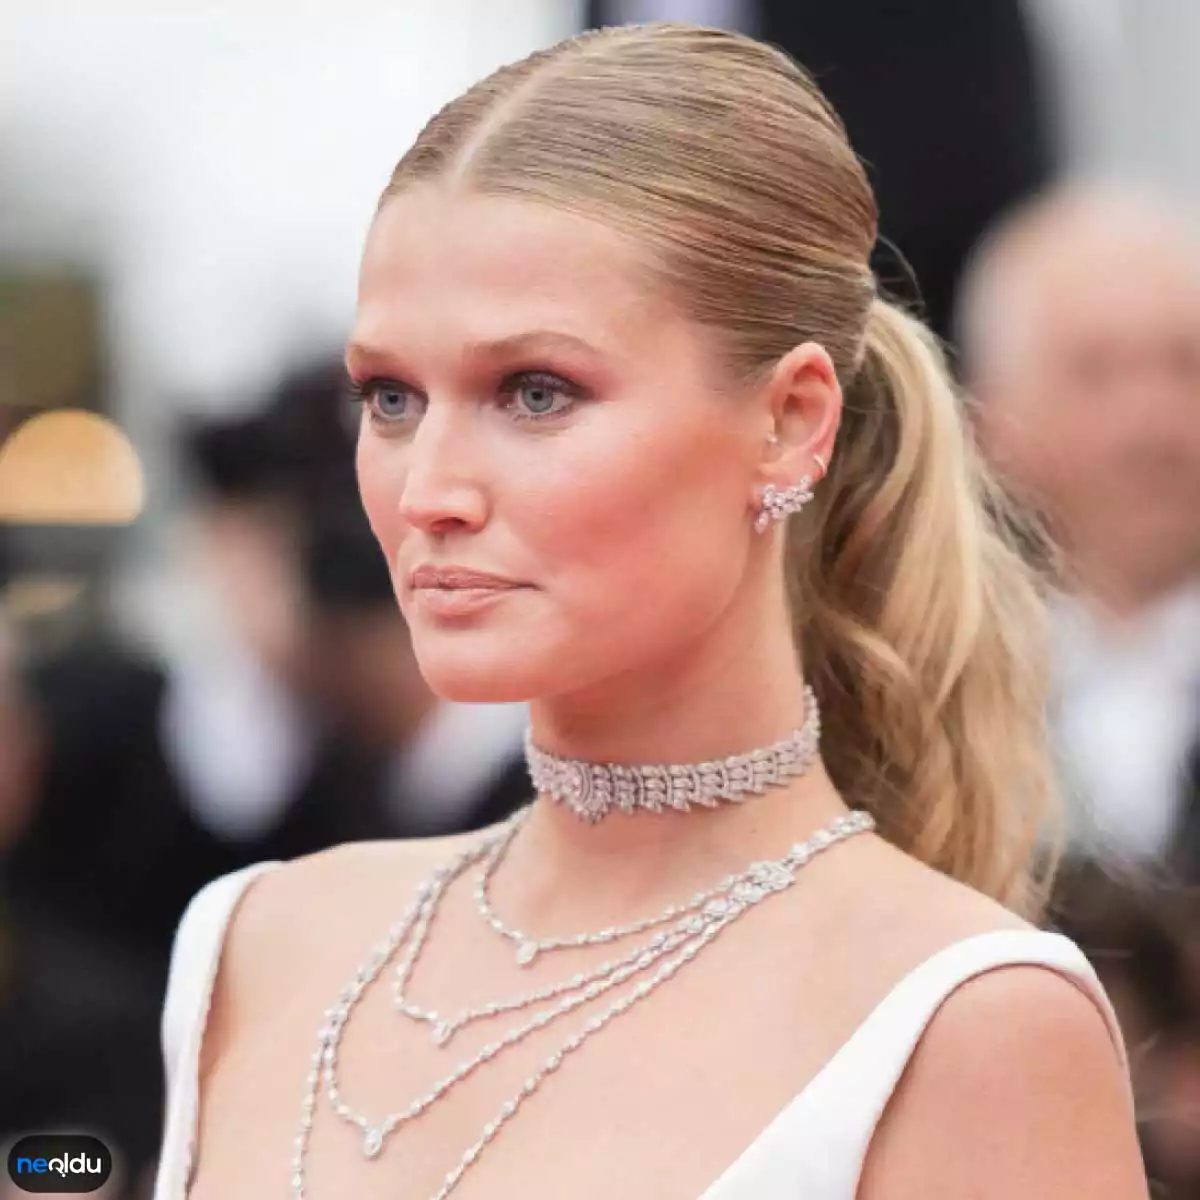
The next option is a high ponytail, but without the usual restrictions. No rubber band. No tight pulls that make your scalp scream. You want volume. You want height. You want it to look like you just shook your head and let gravity do the rest.
Start with dry, textured hair. Wet hair lays flat. Straight hair looks tired. Tighten the crown a little if you want to lift. Gather everything at the top of the head, right where the skull curves. Secure with a hidden clip or a thin, color-matched band that disappears into the mass. Gently pull on the sides to widen the silhouette. The goal is a soft, rounded shape. No sharp, aggressive point.
This style works best with layers. If your hair is one length, a ponytail can look heavy. The layers give it movement. They catch the light. They look intentional, even if you spent two minutes on it.
A messy half-up bun adds volume without heat. A high ponytail without a tie eone lengthates the neck. Both require little effort and have a big impact.
Before choosing, think about your hair type. Thin hair benefits from the grip of a messy bun. Thick hair holds the structure of a high ponytail better. There is no wrong choice here. Only choices that fit the day.
Which one feels more like you? The relaxed bun chaos? Or a clean, lifted line of the ponytail? You don’t have to choose one for life. Rotate it. See what happens when you stop controlling every strand.
10. Beach Wave Hairstyle
If you prefer an effortless, vibrant look over polished perfection, a high, sleek ponytail might not be your thing. Instead, you can choose the Beach Wave hairstyle. It’s one of those styles that screams, “This is how I woke up,” even after spending twenty minutes with the curling iron.
Achieving this look is surprisingly easy. You don’t need complicated braid patterns or advanced twisting techniques. The goal is texture, not structure. First, apply sea salt spray or texturizing mousse to damp or dry hair, depending on your hair type. This product is a secret weapon; It provides the grit and hold needed to create a breezy look for a beach day.
Next, take large sections of hair and wrap them around a large-barrel curling iron or wand. Just hold for a few seconds. You are not trying to create tight curls. You are looking for loose, irregular coils. The most important thing is to change the direction of the curls. If you curl each strand the same way, it will look flat and artificial. Mixing waves creates a random, natural chaos that defines the beach wave aesthetic.
Once you’ve curled all of your hair, let it cool completely. This is crucial. Heat fixes the shape, but cooling fixes it. Then run your fingers through your hair to loosen the curls. Do not use a brush. The brush transforms beautiful waves into fluffy or soft sweeps. Gently pull the curls apart with your fingers to soften them.
Finally, apply a light hold hairspray to keep the style in place without making it stiff. As a result, the hair moves freely, looks fuller and feels relaxed. It’s a style that’s perfect for running errands, going to the gym or a casual dinner. It takes a little effort but offers maximum style.
Why complicate things when loose axles can do the heavy lifting? This look embodies the idea that beauty doesn’t always have to be controlled. Sometimes letting go is the best style decision you can make.
Effortless beach wave technique
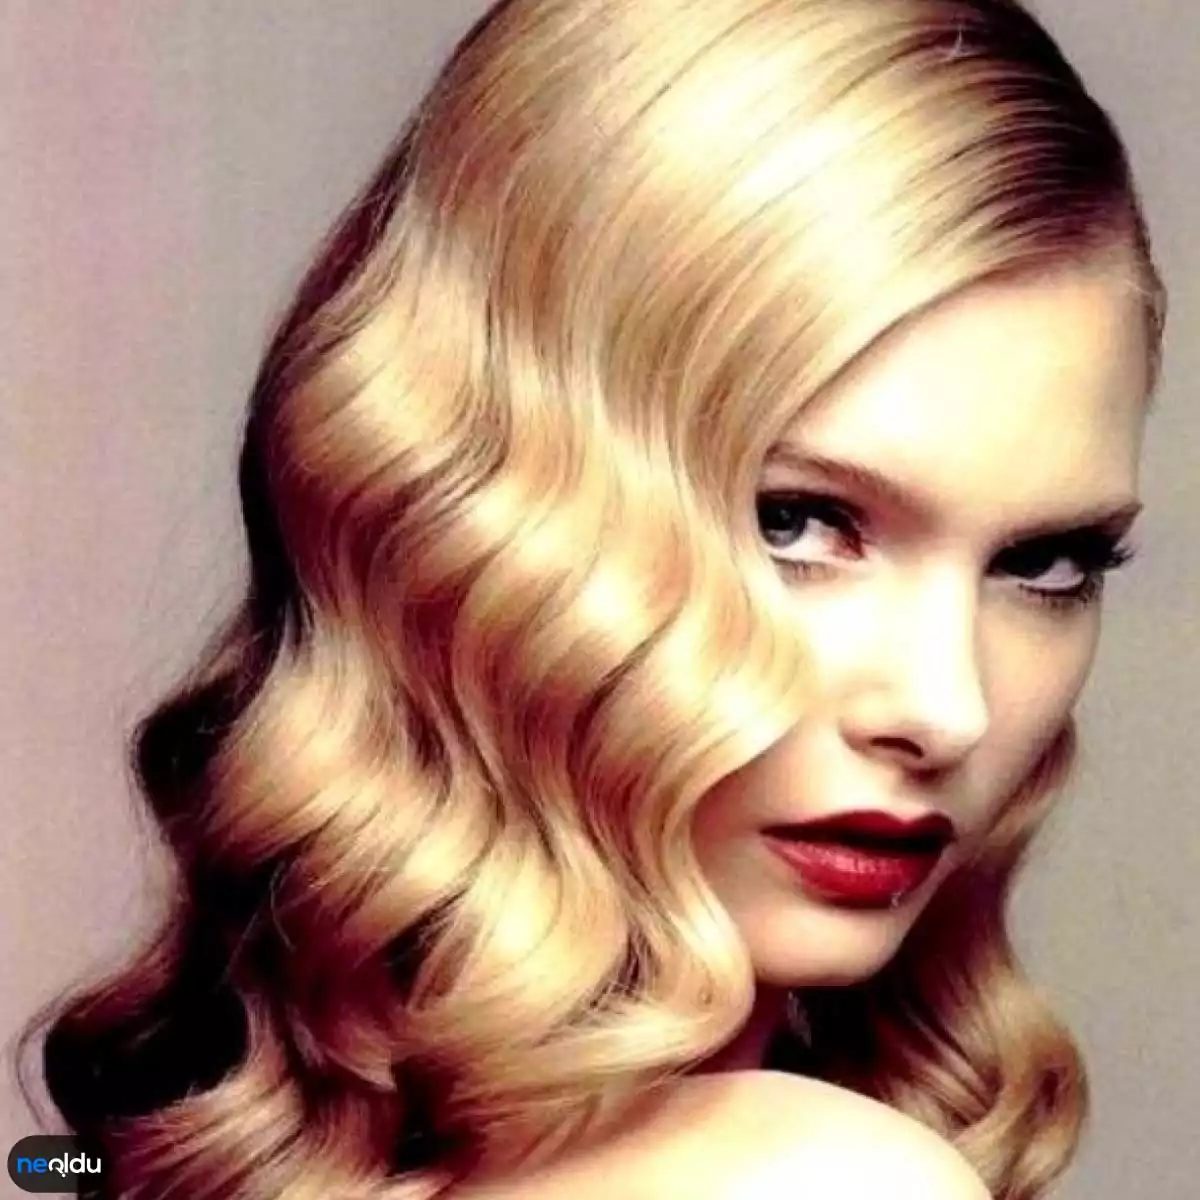
If you have medium length hair and are looking for that special look of controlled chaos, beachy waves might just be for you. It’s one of the easiest styles to pull off without a professional stylist or hours in front of the mirror. The secret is surprisingly low technology. You actually only need one tool: a curling iron.
The method is as intuitive as possible. Take sections of hair and wrap them randomly around the barrel. Don’t try to be precise. The goal is randomness. Leave the roots loose, pull the iron through with a gentle twist and let the curls fall where they will. This lack of structure is exactly what causes that sun-kissed, wind-swept texture.
“The goal is randomness. The lack of structure is exactly what creates that sun-kissed, wind-swept texture.”
It works because it mimics nature. Natural beach hair is never uniform. It’s chaotic. It is textural. By using the iron indiscriminately, you’ll recreate an organic look while having more grip and precision than you’d ever be able to with real salt water.
With a medium-length style, create more volume at the roots and movement at the ends. Short hair can look frizzy if you’re not careful. Longer hair can become too heavy and weigh down the wave. But medium? It sits right in the sweet spot. The hair is long enough to hold the shape, but not so long that it drags the style down.
Start with dry, styled hair. If your hair is too clean and slick, the waves will slip out before you can fix them. A little texturizing spray or dry shampoo adds roughness. That grit helps the iron to hold the strand in place. A memory is created in the hair that lasts longer than just heat.
Wrap a two-inch section. Hold for five seconds. Release. Go to the next one. No pattern. No changing sides. Just go. If you want a looser wave, use a wider barrel. If you want more definition, go smaller. But keep the movement relaxed. Tight, uniform curls look like you tried too hard. Loose, uneven waves look like you just woke up.
Check the reflection. Look for unevenness. That’s good. If it looks perfect, you screwed up. Shake it with your fingers. Do not use a brush. Brushing kills the wave. It turns texture into frizz. Gently separate the curls with your hands. Pull them apart if they are too tight. Push them back together if they are too sparse.
This style requires no planning. You can do it five minutes before work. Or you can take it easy on Sunday morning. It’s forgivable. It hides bad hair days. It covers thin areas. It makes thick hair look manageable. It’s a cheat code that makes you look put together when you’re not.
If you have fine hair, add a light hold mousse before curling. If you have thick hair, work in smaller sections. The principle remains the same. Embrace the chaos. Let the waves breathe. Makes hair look like it has a mind of its own.
There are other styles. Stylish bobs. Sharp buns. Complex braids. They all have their place. But sometimes you just want hair that looks like it survived a